Installation
1. Download the plugin (.zip file).
2. In WordPress Dashboard go to Plugins > Add New.
3. Upload Plugin by pressing the upload button.
4. Activate the plugin.
5. In Ultimate Membership Pro plugin dashboard go to navigation menu and find EXTENSIONS tab. Upon clicking the menu’s item, a box with Two Factor Authentication module will be available.
Activation
1. Two Factor Authentication can be enabled or disabled by pressing the “Activate/Hold” switcher button from the module panel.

Config
2.0. Every time a member try to log in through the Ultimate Membership Pro system, he will receive an authentication code as a notification before the log in takes place.
You may choose how to send the notification. Notification may be sent on email, sms or by email and sms at the same time.

If you also want the authentication code sent via SMS, make sure the Phone field with the phone slug is present in Ultimate Membership Pro -> Showcases -> Custom Fields.
If it does not exist, create it by clicking the Add New Register Form Field button.
Fill in Field Unique Slug: phone and in Field Type: number in the Custom Field Settings section.
Important! When registering, members must select the country that corresponds to their phone number code
2.1. Member may resend the Code a few times in an hour. In Resend Code Limit you may set a digit or a number that will limit the sending of codes to these values. Type 0 if no limits is needed.

2.2. Every Code has a validity period expressed in minutes. This validity may be set from 10 minutes to 60 minutes. In Expire Time Limit For Code choose an expire time.

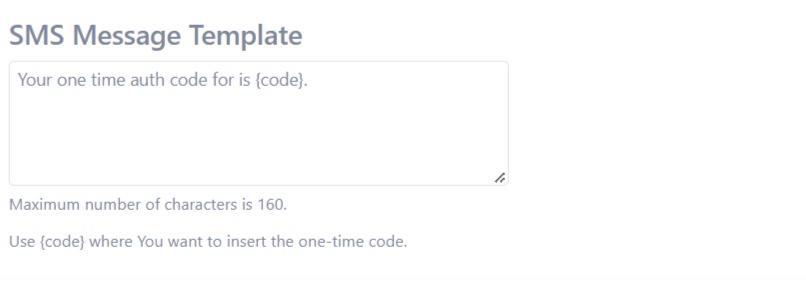
2.3. Every Code may be sent as a notification. In SMS Message Template you may create custom SMS messages for your members.
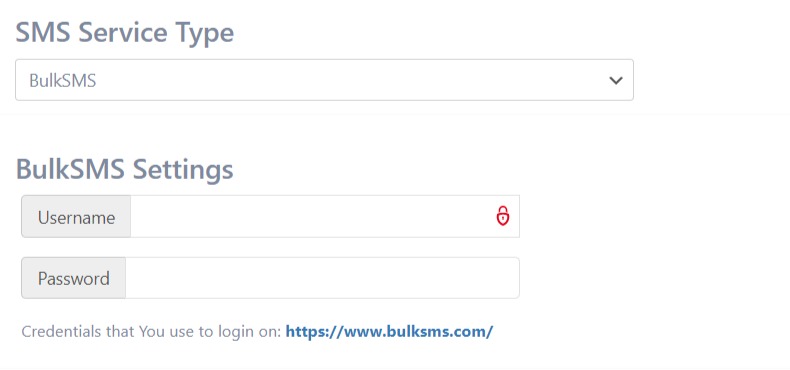
2.4. Another important feature is the SMS provider. In SMS Service Type you can choose from several providers, such as
TeleSign, BulkSMS, Messente, InfoBip, ClickSend.
Every SMS provider has its own settings, such as username, password, api username, api password, Customer ID, and so on.
Based on the provider, there is an explanatory url where you can read the configuration steps.
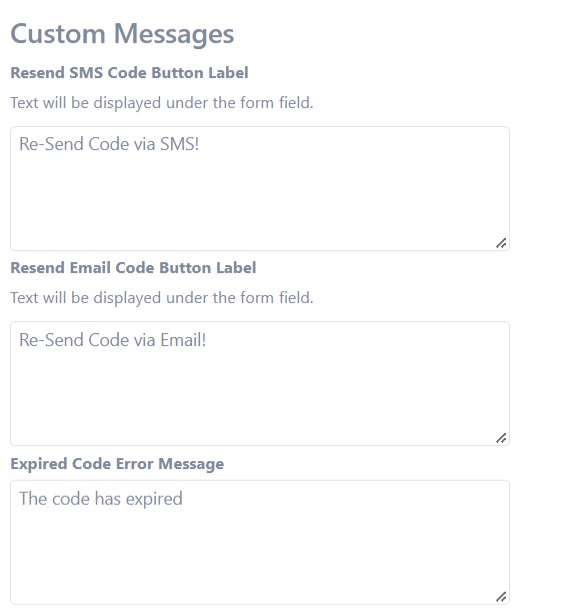
2.5. Every interaction of the member with the introduction of the authentication code requires a response from the system. In Custom Messages you may create custom alerts but also labels for SMS and email buttons.
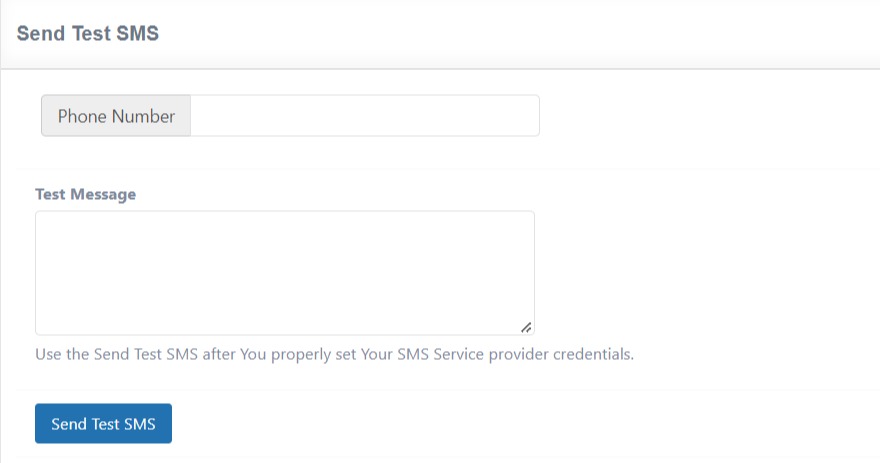
2.6. Before launching these features into production, it is good to run some tests. With Send Test SMS you may add a phone number and a message and send it. This will help you make the necessary adjustments.
