Installation
1. Download the plugin (.zip file).
2. In WordPress Dashboard go to Plugins > Add New.
3. Upload Plugin by pressing the upload button.
4. Activate the plugin.
5. In Ultimate Membership Pro plugin dashboard go to navigation menu and find EXTENSIONS tab. Upon clicking the menu’s item, a box with MailChimp Pro module will be available.

Setup
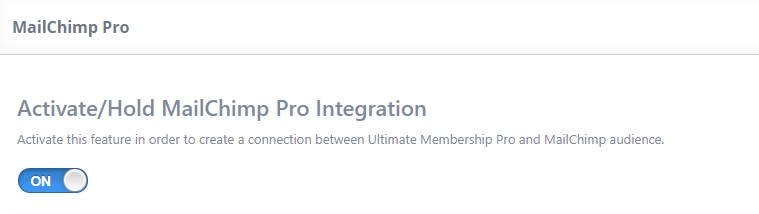
1. MailChimp Pro module can be enable or disable by pressing “Activate/Hold” switcher button from the module panel.
2. Log in mailchimp.com
3. In the right side of the menu click on profile name > Account > Extras > API keys and look after ‘Create A Key’ button.
4. Create a key and look in ‘Your API keys’ table.
5. Copy key in API Key field.

6. Click on Refresh Audience Lists button.

7. Choose where to store your emails adresses by selectig an Audience from ‘Default Audience’.

8. Based on Ultimate Membership Pro subscriptions, you may set a different type of audience. Also by clicking on ‘Check this Audience’, you may see a list with all email adresses related with current level.
