Installation
1. Download the plugin (.zip file).
2. In the WordPress Dashboard go to Plugins and Add New.
3. Click the upload button to install the plugin.
4. Activate the plugin.
5. In the Ultimate Membership Pro plugin dashboard, go to the navigation menu and find the EXTENSIONS tab. Upon clicking the menu’s item, a box with the Pay Per Post module will be available.

Activation
1. Pay Per Post may be activated or disabled from the module panel by hitting the “Activate/Hold” toggle button.

Config
2.0. When a new post is created, a new box with Membership Pro Pay per Post will appear.
You may set the post’s pricing and restrictions in that section.

2.1. When creating a post for a charge, several restrictions can be specified. These are Replace content with custom content, Custom redirect, Redirect to Checkout page.
Replace content with custom content

This feature will replace the main content of the post with a custom one.
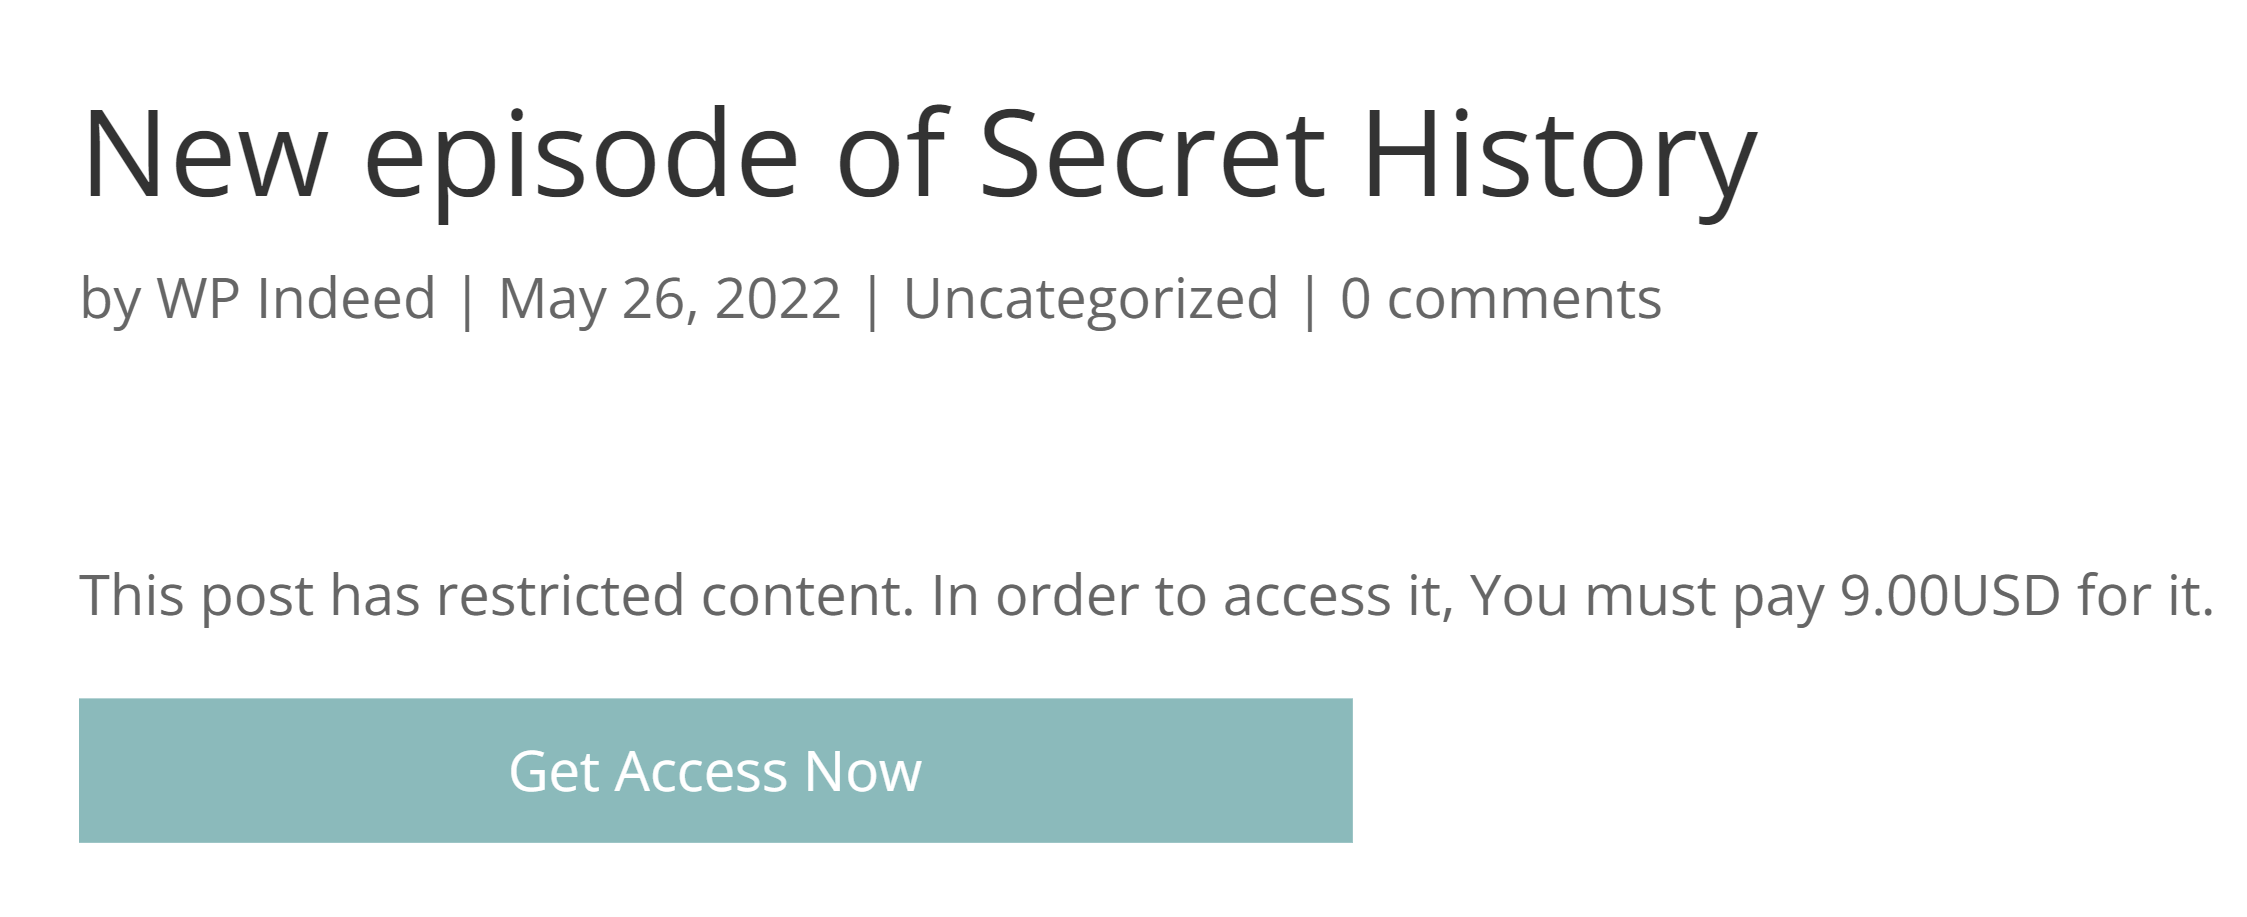
There are two shortcodes [ump-ppp-buy-link] and [ump-ppp-buy-button]. With this shortcodes a payment button or a payment link can be created.
In every shortcode can be added two parameters like label and extra_class. Their role is to modify the text on the button and apply a CSS class to style it.
[ump-ppp-buy-button] in public section

[ump-ppp-buy-link] in public section
For the ‘buy link’ shortcode label parameter will replace url with a custom text.

Custom redirect

This feature will redirect user to a custom url.
Redirect to Checkout page

This feature redirects the visitor to the payment page. The user will be able to return to the post after making the payment.
